I thought it made for a fun addition to the model, and the resin terrain pieces were all fairly good quality. This made me take the plunge and order their Skyrim Word Wall.

The whole thing came in one piece, and the cast quality is really excellent. It's even got all the little Nord runes on it and everything, and I'm delighted to report it's the Unrelenting Force wall: the best shout in Skyrim because it has by far the greatest comedy potential.

I covered the whole thing in Basalt Grey, and gave the words and the darker bits a Black Ink wash.

The non-dark stone then got light drybrushes in Neutral Grey and Medium Sea Grey, and I did the FUS runes in Deep Sky Blue and Fluorescent Blue.

I was lazy and did the same greys on the back.
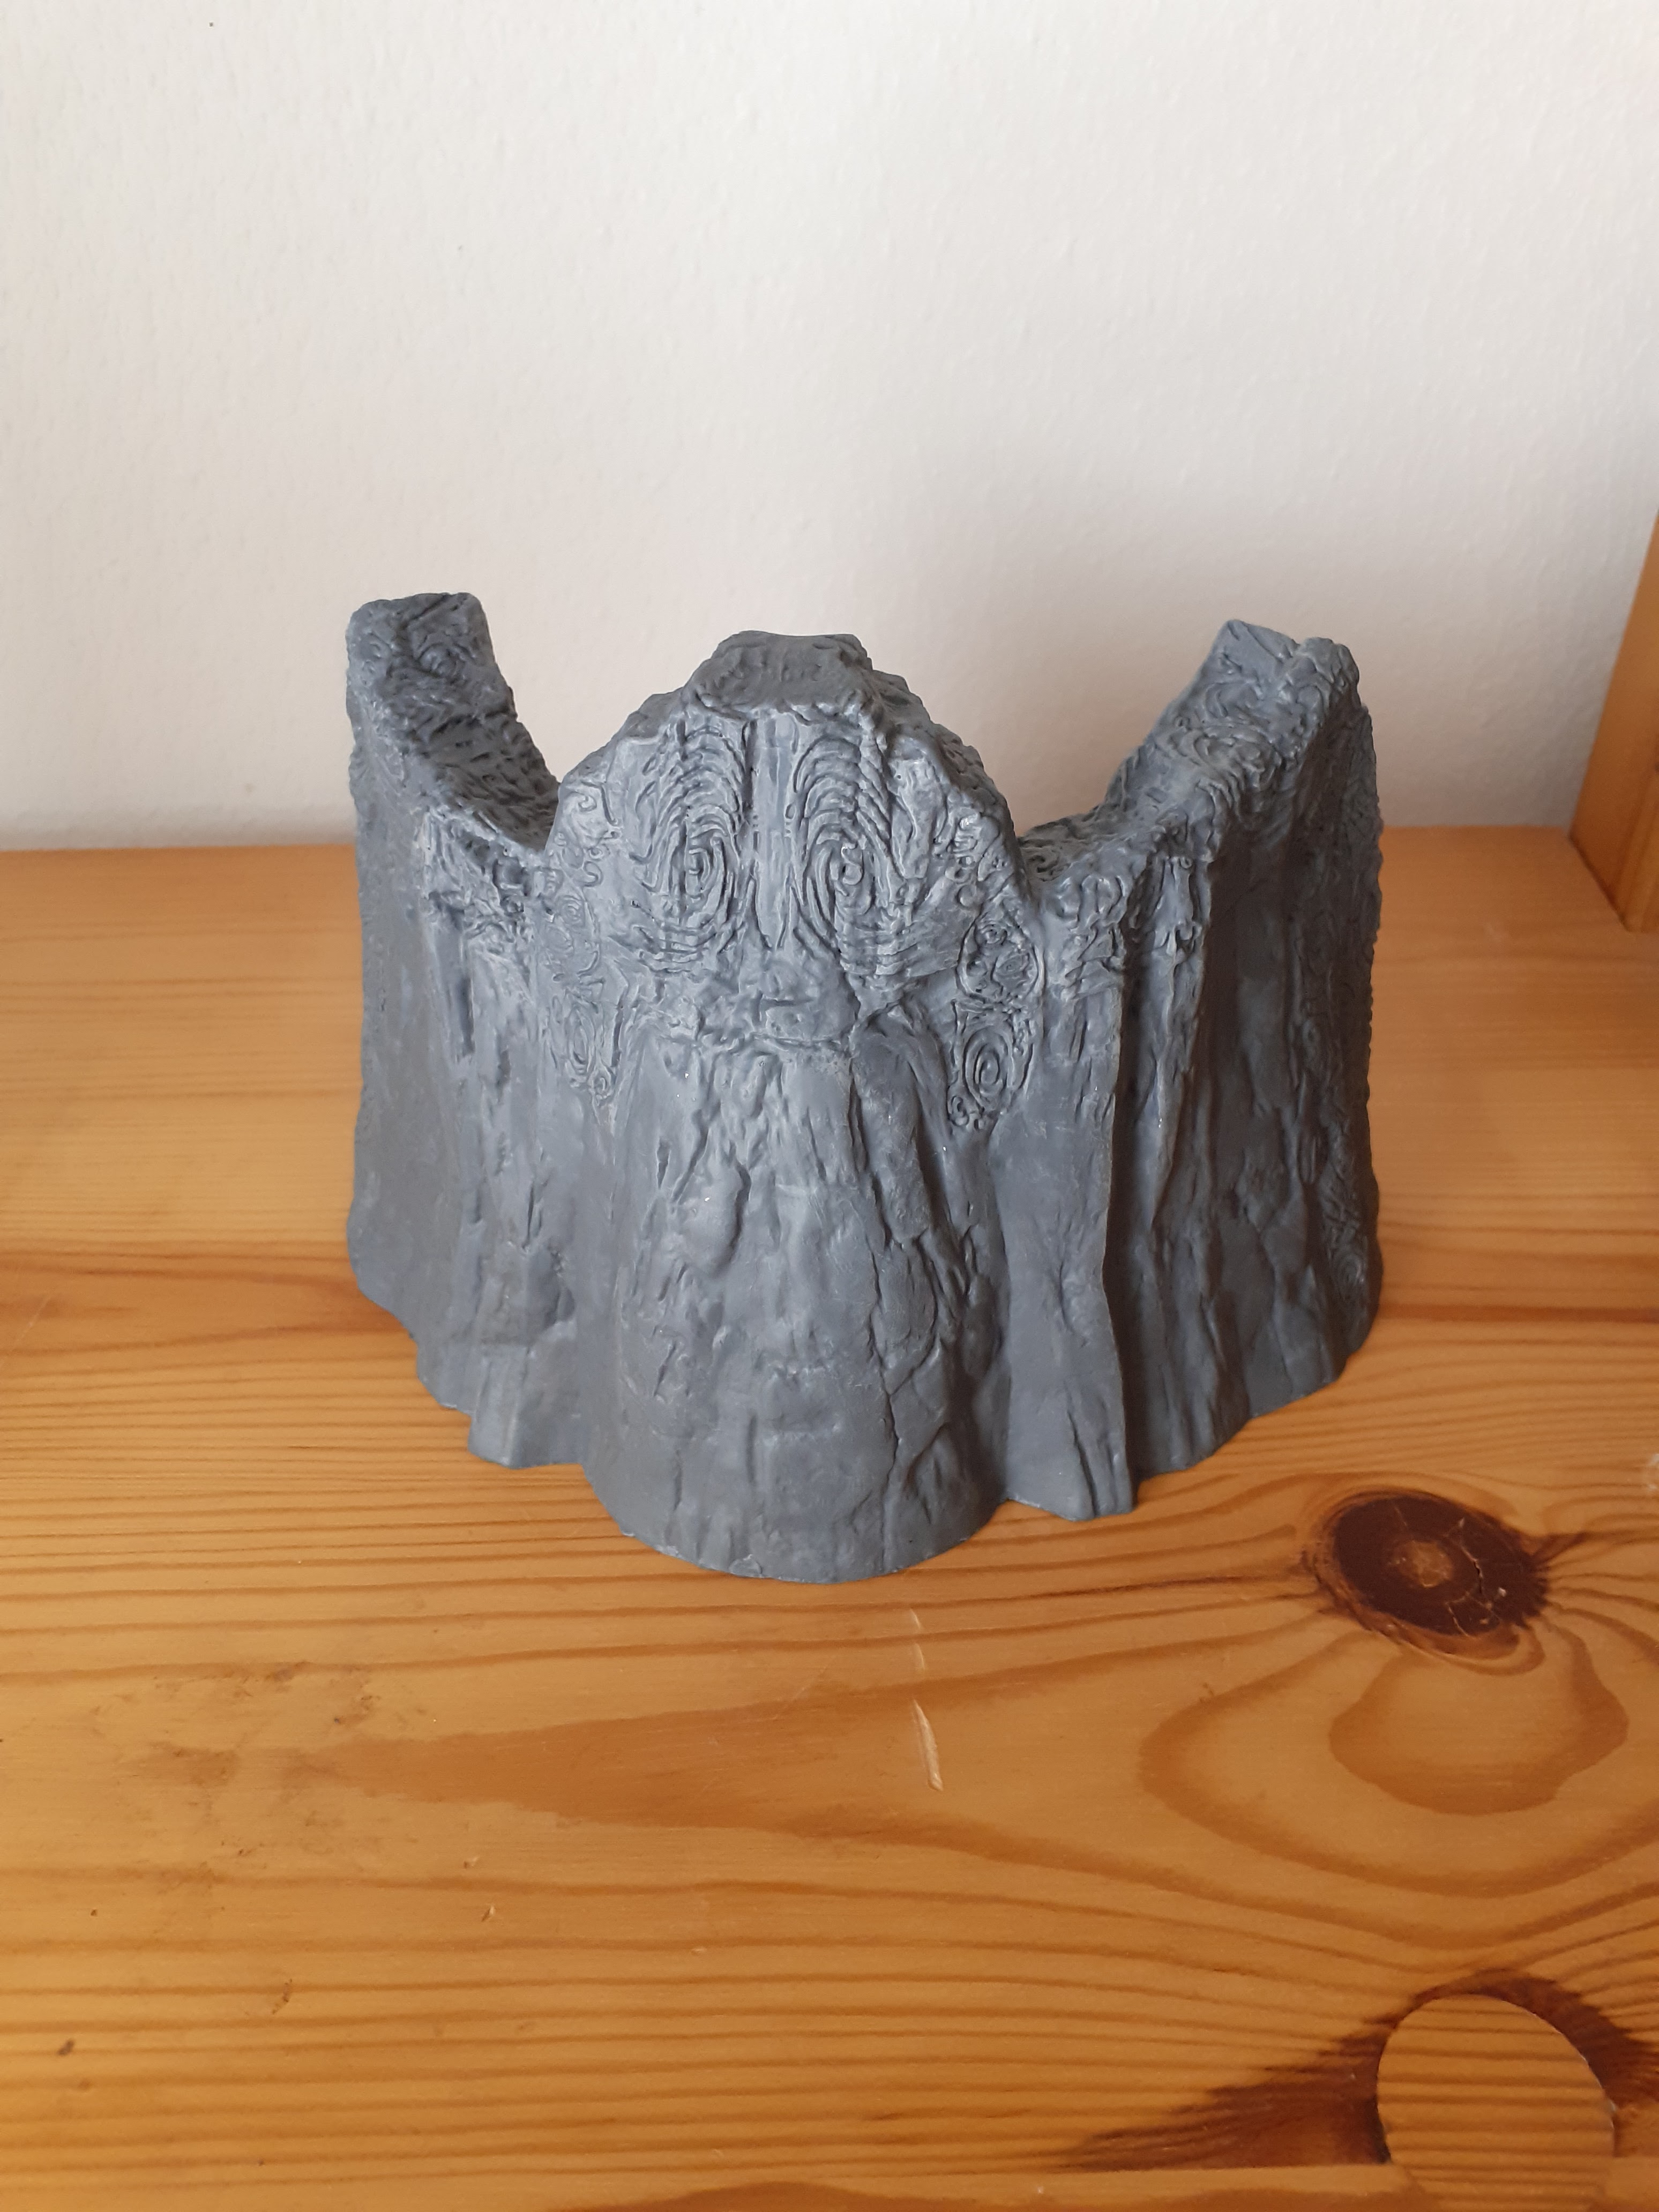
Here it is! Armiger and Arch-Militant for scale.

It's a simple paintjob, but I'm very happy with it.

**
Soon after I finished my word wall, Modiphius dropped the price of their Red Rocket station, and I felt like I had to get it. I'd looked at it earlier, but frankly it was way too expensive.

It's a very hefty box! Most of the weight is the 3'×3' neoprene mat, which is all right, I guess. Not really something I was interested in. It doesn't look bad, and although it's quite creased from being folded in the box, I'm pretty sure it'll even out.

What we're really here for is the Red Rocket building. It's made out of fairly strong, good quality card, with plastic connectors holding it together. There are also two resin coolant pumps and a resin Red Rocket.

You start by building the ground floor of the station. Two things struck me. First, there's no assembly instructions in the box: you have to get them off the Modiphius website. It's not a big deal, but it's annoying scrolling around a PDF on your phone. The instructions are also shoddy. You have to squint quite a bit to make out what goes where, and ludicrously, all the card pieces are named on the sheet you punch them out of - but the instructions don't use the names. This is just silly.
Secondly, there doesn't seem to be any way to attach the building to its base. With the card as light as it is, it'll never stay put, and I could see this becoming very annoying.

The card is quite nice, though, and I'm almost surprised how good it looks despite the plastic connectors. I actually googled to check if there really was no way to mount the building, and finding none, I grabbed my trusty Finnish equivalent of PVA glue and stuck the walls on the base.

This worked quite nicely, and I decided to reinforce my building by supergluing in a couple of scenery items, like this GW barrel:

And an appropriate Fallout container.

With that done, I moved on to the next phase: the canopy.

After I moved from the canopy to the roof, I realized that the assembly instructions were even worse than I thought. You use the same piece for both the roof and the floor of the building - or so I thought. In fact, the two pieces are mirrored, and if you pick the wrong one for the floor, you can't mount the Red Rocket signs on the roof. The instructions don't tell you this, of course. Guess which piece I already glued.
So that's annoying, but I can work with it: I just need to glue the signs onto the roof edge the old-fashioned way. That's not the end of it, though. The roof isn't really attached to anything either, but I get that, because then you can lift it off and use the building interior. However, this does mean that the roof will shift around a lot, which isn't great. What's worse is that the whole canopy is only attached to the building with a single plastic connector. It's just hopelessly flimsy: even assuming the resin rocket, the whole thing shudders and shifts if you so much as look at it.

If this was for a diorama or something, it wouldn't be ideal; for a piece of miniature wargaming terrain, it's inexcusable. People are going to be placing models and templates around it, poking about with tape measures, bumping the table and so on. Terrain can't be this flimsy. In my opinion, this whole thing is going to need a proper base, and it should have come with one. Since it doesn't, I'll build one.
Before I do, I really have to say that I'm a bit disappointed with this kit. The instructions are garbage and the end result is flimsy. If I'd paid the frankly outrageous original price for this thing, I'd be pissed.
**
Sadly, adding the resin rocket doesn't help much. The four pylons are meant to fit into slots in the rocket's base. They don't.

While I had the rocket on there, the pylons did stay more or less still, but I'm still really uneasy about the whole canopy resting on just one plastic connector. Especially since the rocket won't actually stay on, as the slots are just too small for the card pylons.

So, it was basing time. I optimistically started with some thick card.

Then I cut down the tabs on the pylons to a size that actually fits the rocket, and after a lot of frustrating wrangling, managed to superglue the rocket on.

If you ask me, there's no way that thing stays up there without glue. But with superglue for the rocket and to make the pylons stick to the base, it sticks together and makes the whole canopy much less wobbly. I then painted the resin coolant pumps, cut a little base for them out of some of the leftover card, and stuck them on.

Next up, a Nuka-Cola machine.

At this point, I decided the walls looked a little bare, and got my flatmate to print me a selection of tiny weathered posters.

I mean is it really a garage without an explicit calendar in the office area?

I also added a poster to the garage area, and I have to say, I think it looks great.

In the public-facing area: Torquemada is watching! Behave!

Finally, I added a poster for a lecture course I taught last fall:

And my favorite touch: wanted posters from my Rogue Trader tabletop campaign.

I have to say, these little posters made me very happy indeed. All that was left to do after this was glue sand to the base.

And paint it Neutral Grey to go with the rest of my scenery.

**
So, this was a mixed experience. The word wall is lovely, and the Red Rocket station was a disappointment. To sum up: if you buy the Red Rocket kit thinking you're getting an easy to assemble, ready to go piece of wargaming terrain, well, you're not. If you buy it as a starting point for a terrain piece you're going to spend a bit of time and effort building, then I think it's not a bad purchase. But that is to say that it doesn't exactly do what it's sold as.
Having said that, I might well be persuaded to buy more card terrain, as long as the price is right. The resin word wall, on the other hand, is absolutely fantastic, and I'm delighted I bought it. In general, Modiphius's resin terrain pieces have been really good, from the small bits to the big stuff.
Anyway, now I have some terrain, for better photo backdrops if nothing else!


No comments:
Post a Comment